
Category: Outdoors

  • Camping power: what a portable power station can realistically run

    Camping power: what a portable power station can realistically run

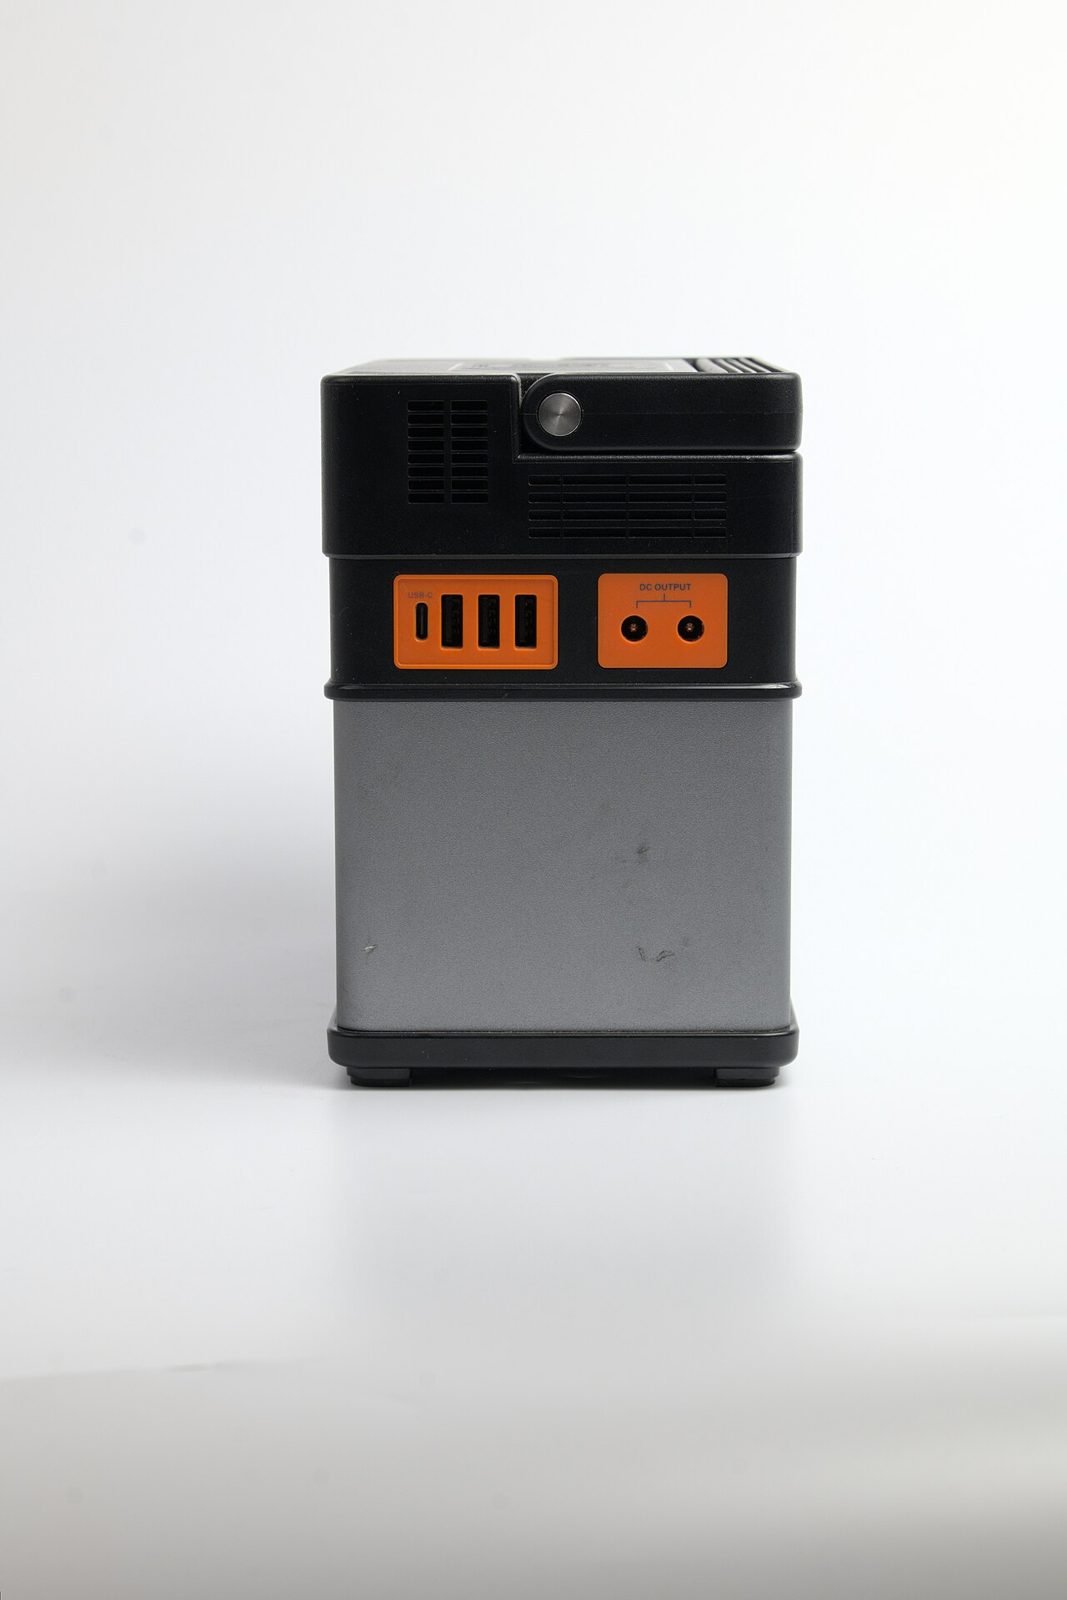
    A portable power station on a campsite can feel like magic: lights, charged phones, cold drinks, no generator noise. It can also be a disappointment if you expected it to boil a kettle or run a heater all night.

    What a power station can do comes down to two numbers and some simple sums. This guide walks through them with worked examples. Every product figure in the examples below is hypothetical, chosen to make the maths easy. Use your own station’s spec sheet and your own devices’ labels for real planning.

    The two numbers: watts and watt-hours

    • Watts (W) are power: how fast energy is used. A device’s wattage says how much it draws at any moment. A station’s output rating in watts says the most it can deliver at once.
    • Watt-hours (Wh) are energy: how much is stored. A station’s capacity in Wh is the size of the tank.

    A useful picture: watts are the width of the pipe, watt-hours are the size of the tank. A big tank with a narrow pipe can run small things for a long time but can’t run one big thing at all. A wide pipe with a small tank can run a big thing, briefly.

    Two questions follow for every device:

    1. Can the station run it at all? The device’s watts must be under the station’s continuous output rating (and its start-up surge under the surge rating).
    2. For how long? Divide the energy available by the device’s watts.

    If a spec sheet gives a battery’s size in amp-hours, the FAA gives the conversion: to calculate Wh, multiply the battery voltage by the Amp hours. (FAA PackSafe) For the rest of the spec sheet, see how to read a portable power station spec sheet.

    The planning formula

    Runtime (hours) ≈ capacity (Wh) × planning allowance ÷ device watts

    The planning allowance covers energy lost converting battery power into AC or USB output. It varies by model and load, so if your brand publishes a usable-capacity or efficiency figure, use that. For the examples here we use 0.85. That’s our own assumption for illustration, not a measured or brand figure, and it’s the same allowance we use in our EcoFlow vs Jackery comparison.

    Our hypothetical station

    For all the examples below, imagine a mid-size camping station with:

    • Capacity: 500 Wh (hypothetical)
    • Continuous AC output: 300 W (hypothetical)
    • Usable energy for planning: 500 × 0.85 = 425 Wh

    Worked examples

    All device wattages below are hypothetical round numbers. Check the label or the manual on your own device, or measure it with a plug-in power meter at home.

    Example 1: LED string lights (hypothetical 5 W)

    • Can it run? 5 W is far below 300 W. Yes.
    • How long? 425 ÷ 5 = 85 hours.

    Low-watt lighting is where power stations shine. Several evenings of lights barely dents the battery.

    Example 2: charging phones (hypothetical 15 Wh per full charge)

    Phones are easier to think about in watt-hours per charge than in watts.

    • How many charges? 425 ÷ 15 ≈ 28 full charges.

    In practice you’ll get fewer if you charge through the AC outlet with a plug-in charger rather than the station’s USB ports, because that adds another conversion step. Use the USB ports where you can.

    Example 3: a laptop (hypothetical 60 W while working)

    • Can it run? Yes.
    • How long? 425 ÷ 60 ≈ 7 hours of use.

    Example 4: a 12 V compressor cooler-fridge (hypothetical)

    Fridges are the tricky one, because they cycle on and off. The label wattage is what the compressor draws while running, not the average over a day.

    Suppose (hypothetically) a 12 V fridge draws 45 W when running and, on a mild day, runs one-third of the time:

    • Average draw: 45 × ⅓ = 15 W
    • Energy per day: 15 × 24 = 360 Wh
    • Days on our station: 425 ÷ 360 ≈ 1.2 days

    On a hot day, with the lid opened often, it would run more and the battery would last less. Plug the fridge into the station’s 12 V DC socket if it has one; it avoids the AC conversion.

    Example 5: an electric kettle (hypothetical 1,200 W)

    • Can it run? No. 1,200 W is four times our station’s 300 W continuous output. The station will refuse or shut off, however full the battery is.

    Even on a station big enough to power it, a kettle is a heavy user of stored energy: 1,200 W for 5 minutes is 100 Wh before losses, about a quarter of our hypothetical station’s usable energy for one boil. A camp stove is usually the better tool for heating water.

    Example 6: an electric space heater or hair dryer (hypothetical 1,500 W)

    Same as the kettle: too much for most mid-size stations, and even on a large one it would drain the battery fast. Plan on warm layers and a good sleeping bag instead.

    The examples at a glance

    Device (hypothetical figures) Draw Runs on our 300 W station? Rough runtime on 425 Wh
    LED string lights 5 W Yes ~85 hours
    Phone, per charge 15 Wh Yes ~28 charges
    Laptop 60 W Yes ~7 hours
    12 V fridge (average) 15 W avg Yes ~1.2 days
    Electric kettle 1,200 W No n/a
    Space heater / hair dryer 1,500 W No n/a

    All figures are illustrations, not product specs. Real results vary with temperature, device settings and the station itself.

    Adding up a trip

    To size a station for a weekend, list each device, estimate how many watt-hours it uses per day, and add them up. Hypothetically:

    Device Use per day Wh per day
    Lights (5 W) 4 hours 20
    Two phones (15 Wh each) 1 charge each 30
    Fridge (15 W average) 24 hours 360
    Total 410 Wh/day

    On our hypothetical 425 Wh, that’s about one day. For a two-night trip without recharging, you’d want roughly twice the capacity, or a way to recharge, or a cooler with ice instead of the fridge.

    The exercise usually shows that one device dominates. Here it’s the fridge. Cut that, and the same station lasts many days.

    Recharging at camp

    • Solar: don’t plan on a panel delivering its full rated wattage all day; sun angle, cloud and shade all reduce what it puts out. For a cautious plan, assume well under the rating. As a hypothetical: a 100 W panel averaging 50 W over 5 hours of good sun puts back about 250 Wh before charging losses. Check that the panel’s voltage falls within your station’s solar input range.
    • Car charging: a 12 V car socket can top up a station on the drive. Check your vehicle’s manual before using the socket with the engine off.
    • Campground hookups: if your site has power, recharge there. Rules on what you can plug in vary by campground.

    Flying to your campsite?

    Most camping-size stations can’t fly. The FAA limits lithium ion (rechargeable) batteries to a rating of 100 watt hours (Wh) per battery for passengers, carried in carry-on baggage only. With airline approval, passengers may also carry up to two spare larger lithium ion batteries of 101–160 Wh. (FAA PackSafe) The FAA says a device with a lithium ion battery that exceeds 160 Wh is prohibited as carry-on or checked baggage. (FAA PackSafe) The TSA adds that spare lithium batteries, which include both power banks and phone chargers, are prohibited in checked luggage. (TSA)

    Our 500 Wh example station couldn’t fly. If you’re flying, a power bank of 100 Wh or less (with the rating printed on it) and a small solar panel may be the practical answer. The FAA also notes that many airlines set stricter limits, so check yours.

    Looking after it

    The FAA notes that all lithium ion batteries are capable of overheating and undergoing a process called thermal runaway. (FAA PackSafe) At camp, follow the manufacturer’s temperature and charging instructions, keep the station out of rain and direct midday sun, and stop using any unit that’s swollen or damaged.

    Choosing one

    Start with your list, not with the biggest box in the shop:

    1. Write down every device and its watts (or Wh per charge).
    2. Check the biggest draw against the continuous output rating.
    3. Add up Wh per day, apply your planning allowance, and multiply by the days between recharges.
    4. Add some headroom, then compare models at that size.

    Browse portable power stations on Amazon (US) · Browse 12 V camping fridges on Amazon (US)

    Buying one that will last, and repairing gear rather than replacing it, matters more than the “green” label on the box; see buy-less outdoor gear. And if you’re buying in the sales, our Black Friday green deals guide helps you avoid paying for capacity you won’t use.

    How we wrote this

    • Every device and station figure in the worked examples is hypothetical and labelled as such. The 0.85 planning allowance is our assumption, not a brand or test figure.
    • Flying rules are quoted from the FAA and TSA and linked. Rules outside the US differ; check your airline and aviation regulator.
    • We don’t name a “best” station here; our EcoFlow vs Jackery comparison compares two real models using brand-stated specs.
    • We haven’t tested any units, and no brand paid to be included. If you depend on a medical device, ask its manufacturer about running it from a power station.
    Sources

    • FAA, PackSafe: Lithium Batteries: faa.gov
    • FAA, PackSafe: Portable Recreational Vehicles Powered by Lithium Ion Batteries: faa.gov
    • TSA, What Can I Bring? Power Banks: tsa.gov
  • Buy-less outdoor gear: repair, resale and gear built to last

    Buy-less outdoor gear: repair, resale and gear built to last

    The jacket you already own is usually the lowest-impact jacket you can wear. Arc’teryx puts it this way about its own products: keeping gear in active use longer is one of the most direct ways to reduce the environmental footprint of making technical apparel products. (Arc’teryx) That’s a brand talking about its own program, but the logic holds for any brand: a garment that’s already made doesn’t need making again.

    This guide works through the options in order: fix it, then pass it on or buy it used, and only then buy new, and buy the kind of thing that can be fixed.

    Step 1: repair what you have

    Most outdoor gear fails in a few predictable places: zippers, seams, small tears, buckles, worn knees and seats. Many of those are home fixes.

    Fixes you can do yourself

    • Small tears and holes in shells and down jackets: an adhesive repair patch, cut with rounded corners, applied to clean, dry fabric. Follow the patch maker’s instructions.
    • Zipper sliders that stop closing: often the slider is worn rather than the teeth. Replacement sliders are sold in kits by size; check the number stamped on the back of your slider.
    • Lost buckles, cord locks and zipper pulls: usually standard sizes, and a quick fix once you have the right part.
    • Restoring water repellency: a jacket that “wets out” may just need cleaning and a fresh durable water repellent (DWR) treatment, not replacing. Follow the care label.
    • Seams starting to open: a needle, heavy thread and a few minutes now beats a blown-out seam later.

    A small kit covers most of that: repair tape or patches, a needle and heavy-duty thread, a few spare buckles and cord locks, and a zipper slider kit. Browse gear repair kits on Amazon (US)

    Before you try a home fix on an expensive item, check the brand’s repair or warranty page. Some brands publish their own repair guides; others prefer you send the item in.

    Brand repair services

    Some outdoor brands run their own repair services. Two we could check:

    • Patagonia runs repairs through Worn Wear. Start from its repairs page (plain link) to see what it accepts and how to send an item in.
    • Arc’teryx runs repairs through its ReBIRD program, at select stores and by service request online. See its ReBIRD repair services page for what’s covered and how to start.

    What these programs cost, how long they take and which items they accept are set by each brand and change over time. We aren’t summarizing warranty terms here; read the brand’s current page before you send anything.

    Local repair

    If the brand doesn’t repair, or the item is out of any warranty, a local tailor, shoe repairer or outdoor gear repair shop can often replace a zipper or patch a hole. Community “repair cafés” in some cities also help people fix things themselves. Search your city’s name with “gear repair” or “repair café”.

    Step 2: trade in, resell or buy used

    If something no longer fits your life, passing it on keeps it in use. If you need something, buying used means no new item gets made for you.

    Brand trade-in and resale programs

    • REI Re/Supply (US): REI describes trade-in as a member benefit (REI). What you get, and whether an item qualifies, depends on the item and its condition; check REI’s current trade-in page before sending anything.
    • Patagonia Worn Wear (US): Patagonia takes trade-ins of its own clothing for credit and sells used Patagonia gear. Check the Worn Wear site for how much credit you’ll get and how it’s decided. Shop or trade in at Worn Wear (plain link).
    • Arc’teryx ReBIRD resale: used Arc’teryx gear, sold through resale.arcteryx.com (plain link). Check the site for current trade-in terms in your region.

    Other outdoor brands run similar “renewed” or “used” shops. Search the brand’s name with “used” or “trade-in” to see what exists, and check whether it ships to your country.

    Buying used elsewhere

    General resale marketplaces, local buy-nothing groups, gear swaps run by outdoor clubs, and consignment stores all carry outdoor gear. A few checks for used gear:

    • Shells and rainwear: look at the inside for peeling seam tape or a flaking inner layer. Those are hard to fix.
    • Down: check for flat, clumped areas and leaks at the seams.
    • Packs: check buckles, hip-belt foam and the stitching where shoulder straps meet the pack.
    • Tents: set it up, or ask the seller for photos of it pitched. Check poles, zippers and the floor.
    • Footwear: the soles and midsoles wear first, and are only worth buying used if they can be resoled.

    Be very cautious with used safety gear, such as climbing harnesses, ropes and helmets: follow the maker’s own inspection and retirement guidance, and skip anything whose history you don’t know.

    Step 3: if you buy new, buy repairable

    When you do need something new, the green claim on the tag (“recycled”, “responsibly made”) tells you about how it was made. It tells you nothing about how long it will last. For a buy-less approach, durability and repair support matter more. See How we judge green claims for how we read material claims.

    What to look for:

    Feature Why it helps
    A written warranty you can read before buying You know what’s covered, for how long, and how to claim
    A repair service, or published repair guides Damage doesn’t mean replacement
    Spare parts for sale (buckles, poles, zipper sliders, lids) Small failures stay small
    Standard parts (common zipper sizes, standard buckles) Any repair shop can fix it
    Resoleable footwear The upper often outlasts the sole
    A trade-in or resale program Easier to pass on when you’re done
    Simple construction, fewer bonded or glued parts Sewn seams can usually be re-sewn

    On warranties: wording like “lifetime” or “guaranteed” means different things at different brands. Some cover manufacturing defects only; others say they’ll repair wear and tear. Read the brand’s own terms, and keep your receipt.

    Types of gear that tend to last with care

    • A simple wool or synthetic midlayer with few seams and no membrane.
    • A pack with replaceable buckles and a removable hip belt.
    • Leather boots that can be resoled.
    • A tent from a brand that sells replacement poles and parts.
    • Cookware: a stainless pot or cast iron pan has little to break.
    • A rechargeable headlamp, if the battery is replaceable or the brand supports repairs.

    None of these is a guarantee. They’re starting points for what to compare.

    Step 4: care that keeps gear going

    • Wash technical shells as the label says, and re-treat the DWR when water stops beading, per the brand’s instructions.
    • Store down and synthetic sleeping bags loose, not packed in their stuff sack.
    • Dry tents fully before storing them.
    • Fix small things right away. A tiny tear grows.

    If you’re adding electronics to your kit, read what a portable power station can realistically run before buying the biggest one in the shop.

    Buying during the sales?

    A discount on new gear isn’t a saving if you didn’t need it. Our Black Friday green deals guide has a framework for deciding, and our low-waste gift guide suggests gear repair kits and secondhand gear as gifts.

    How we picked

    • We only name repair and resale programs we could check on the brand’s own site, and we link those pages. Programs and terms change, so check before you rely on them.
    • We don’t summarize warranty terms, because they differ by brand, product and country. Read the brand’s own wording.
    • Repair tips are general guidance, not instructions for any specific product. Follow the care label and the brand’s guidance.
    • We haven’t tested any products or used every program. No brand paid to be included.

    Sources

  • Balcony and small-space outdoor living for renters

    Balcony and small-space outdoor living for renters

    A balcony the size of a parking space can still be the best seat in the house: somewhere to drink coffee, grow herbs and get fresh air without leaving home. The trick, for renters, is setting it up with things you can take with you and that don’t break any rules.

    That last part matters. Balcony rules vary by building, landlord, homeowners’ association and city. What’s fine in one building can breach a lease or a local fire code in the next. So before anything else:

    First, check the rules

    Read your lease and any building rules, and ask the building manager if something isn’t covered. Things that are commonly restricted:

    • Grills and open flames (more on this below).
    • Anything attached to the building: screws in walls or railings, awnings, satellite dishes, mounted lights.
    • Items hung over the railing, such as planters on the outside, laundry or flags.
    • Weight: large planters full of wet soil, water features, hot tubs. Ask about load limits for anything heavy.
    • Privacy screens and reed fencing, which some buildings treat as a change to the façade.
    • Storage: bikes, boxes and furniture you don’t use.

    If in doubt, ask in writing and keep the reply. It’s also worth photographing the balcony before you move anything in, for your move-out inspection.

    Grills: read this before you buy

    Many people’s first idea for a balcony is a barbecue. Here, we only repeat what the US fire safety agencies say:

    • The NFPA advises: place the grill well away from the home, deck railings, and out from under eaves and overhanging branches. (NFPA)
    • The US Fire Administration’s outdoor fire safety advice is: do not store or use a grill on a porch or balcony. (USFA)

    Many buildings and local fire codes also set their own rules on grills, including electric models. Check your lease and your local fire department’s guidance before buying any kind of grill for a balcony. We’re not giving our own grill-safety advice beyond that.

    Plants that suit a small space

    Plants make the biggest difference for the least floor space. A few principles:

    • Check your light. Watch the balcony for a day. How many hours of direct sun does it get, and when? Herbs like basil and rosemary want sun; ferns and many leafy houseplants prefer shade.
    • Go up, not out. Railing planters (hung on the inside of the railing, if allowed), tiered plant stands and hanging baskets keep the floor clear.
    • Use lightweight pots. Fiber, fabric grow bags and plastic weigh less than terracotta and ceramic, which helps with weight limits and with moving out.
    • Self-watering planters have a reservoir that helps on hot, windy balconies, where pots dry out quickly.
    • Mind the drip. Use saucers or trays so water doesn’t run onto the balcony below. Your downstairs neighbors will thank you.
    • Wind. Higher floors can be windy. Choose low, sturdy plants and heavier bases, and bring light pots in before storms.

    Edible ideas for a sunny balcony: herbs, salad leaves, cherry tomatoes and chilies in containers. For shade: mint, parsley and leafy greens often cope better than fruiting plants.

    Browse self-watering railing planters on Amazon (US) · Browse fabric grow bags on Amazon (US)

    Got food scraps?

    A balcony is one place a small worm bin or bokashi bucket can live, if it’s shaded and your building allows it. Our guide to composting in an apartment explains which method suits which space, and what each can take.

    Seating that folds away

    For a narrow balcony, choose furniture that folds or stacks:

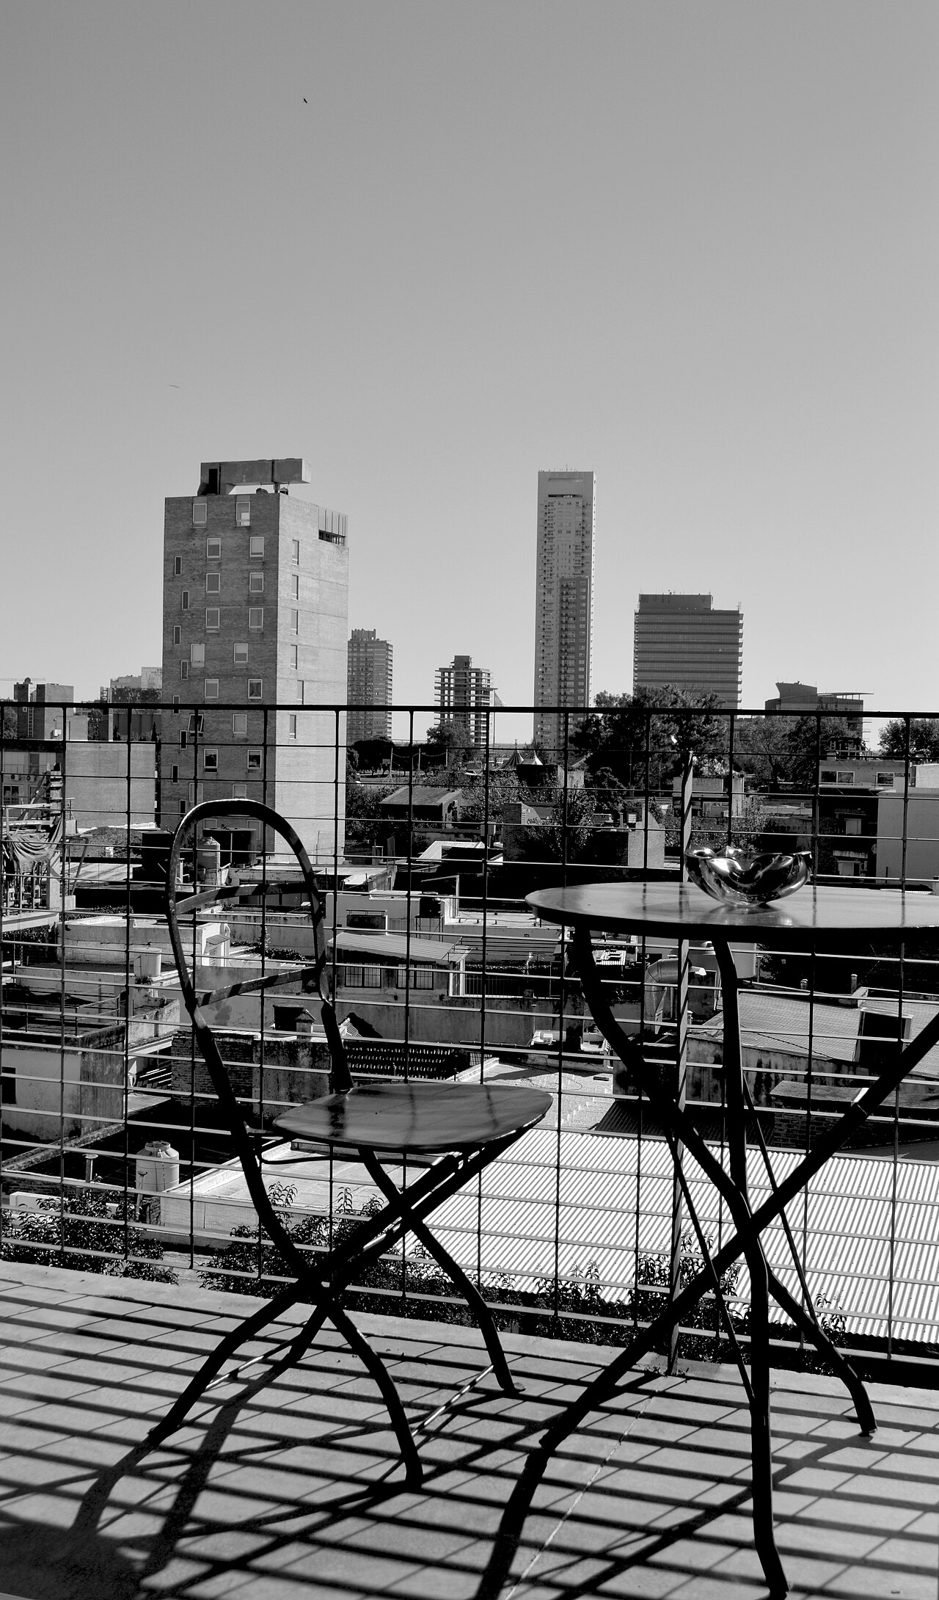
    • A folding bistro set (a small table and two chairs) is the classic.
    • A drop-leaf or rail-mounted bar table that clips onto the inside of the railing, if your building allows it.
    • Floor cushions or a weatherproof pouf for a balcony too small for chairs. Bring them in when it rains.
    • A storage bench doubles as seating and somewhere to keep cushions dry.

    Measure before you buy, including the door swing and the path to it. Leave a clear route out.

    Browse folding bistro sets on Amazon (US)

    If you’re picking furniture, a durable piece you’ll keep through several moves usually beats a cheap set you’ll replace. Our buy-less outdoor gear guide applies the same idea to outdoor gear.

    Shade and privacy without drilling

    • A freestanding umbrella with a weighted base, sized to the space. Close it in wind.
    • A tension-rod shade sail or privacy screen, if your building allows it. Many attach with ties to the railing rather than screws.
    • Tall plants in pots, such as grasses or bamboo in a container, make a soft screen. Containers keep spreading plants contained.
    • Outdoor curtains on a tension rod for covered balconies.

    Browse balcony privacy screens on Amazon (US)

    Lighting

    • Solar string lights or lanterns need no outlet. They depend on enough daylight on the panel, so a north-facing or heavily shaded balcony may not charge them well.
    • Rechargeable lanterns work anywhere and come inside to charge.
    • Plug-in outdoor-rated lights, if you have an outdoor outlet. Use only products rated for outdoor use.

    Keep lights pointed down and away from neighbors’ windows.

    Browse solar string lights on Amazon (US)

    The floor

    An outdoor rug or interlocking deck tiles can make a concrete slab feel like a room. Choose ones that let water drain, and lift them now and then so the surface underneath can dry. Check your lease before laying anything that covers the whole floor.

    When the air outside isn’t great

    A balcony is less appealing on smoky days. If wildfire or bushfire smoke is in your area, check the air quality before sitting out, and see our guide to keeping indoor air cleaner during smoke events. If you run a purifier indoors, our air purifier vs humidifier explainer covers what it does and doesn’t do.

    A move-out-friendly checklist

    • [ ] Read the lease and building rules; ask about anything unclear, in writing.
    • [ ] No grill unless the building and local fire rules clearly allow it.
    • [ ] Nothing screwed into walls, floors or railings without permission.
    • [ ] Planters inside the railing, on saucers, light enough to move.
    • [ ] Furniture that folds, stacks or doubles as storage.
    • [ ] Lights that are solar, rechargeable or outdoor-rated.
    • [ ] A clear path to and from the door.
    • [ ] Photos of the balcony before and after you set up.

    How we picked

    • We suggest product types that renters can take with them and that don’t need drilling. Links are Amazon US searches; we haven’t tested specific products and don’t list prices.
    • Grill guidance is quoted from the NFPA and the US Fire Administration and linked. We don’t add our own safety advice.
    • Rules differ by building and city, so treat this as a checklist of questions, not permission.
    • No brand paid to be included. On product claims like “weatherproof” or “eco”, see How we judge green claims.

    Sources